跟大家讲解下有关JavaScript实现幻灯片的简单实例,相信小伙伴们对这个话题应该也很关注吧,现在就为小伙伴们说说JavaScript实现幻灯片的简单实例,小编也收集到了有关JavaScript实现幻灯片的简单实例的相关资料,希望大家看到了会喜欢。
在我们日常的开发工作中,经常会遇到幻灯片切换、那么我们都知道常见的幻灯片切换无非就是轮播和渐变,不管哪种都是用定时器来逐步改变图片或者图片组的某种属性来实现的,今天就带大家介绍下JavaScript实现幻灯片的简单实例!摒弃其他的效果,最简单的轮播也就只有一条语句: parent.appendChild(parent.firstChild),不断的把列表的一个元素添加到最后一个,appendChild会将节点从原来的位置移除,所以借此可以产生切换效果。 一点,IE对文本的文本节点与其他的浏览器不同,在获取子节点的时候需要注意,另外在不同版本的FF中,children这个属性也需要注意。 下面的demo没有设置#view的overflow:hidden。 demo_1:
代码如下:
<!DOCTYPE html PUBLIC "-//W3C//DTD XHTML 1.0 Transitional//EN" "http://www.w3.org/TR/xhtml1/DTD/xhtml1-transitional.dtd"> <html> <head> <meta http-equiv="Content-Type" content="text/html; charset=utf-8"/> <title></title> <style type="text/css"> *{ margin: 0; padding: 0;} ul{ list-style: none;} #view{ position: relative; width: 320px; height: 120px; margin-left:320px; border: 10px solid #bc8f8f; } #view:after{ content: '.'; display: block; clear: both; height: 0; visibility:hidden;} #img_list{ position: absolute; width: 960px;} #img_list li{ float: left; width: 320px; height: 120px; } #a{ background: #87ceeb;} #b{ background: #ff69b4;} #c{ background: #98fb98;} </style> </head> <body> <p id="view"> <ul id="img_list"> <li id="a"></li> <li id="b"></li> <li id="c"></li> </ul> </p> <script type="text/javascript"> var img_list = document.getElementById('img_list'); setInterval(function(){ img_list.appendChild(img_list.firstChild); },500) </script> </body> </html>
(上面的demo其实可以不用浮动,仅为了后面的演示) 另一种方式就是不改变节点顺序,把整个列表向某个方向移动(不断改变列表的left属性), demo_2:
代码如下:
<html> <head> <meta http-equiv="Content-Type" content="text/html; charset=utf-8"/> <title></title> <style type="text/css"> *{ margin: 0; padding: 0;} ul{ list-style: none;} #view{ position: relative; width: 320px; height: 120px; margin-left:320px; border: 10px solid #bc8f8f; } #view:after{ content: '.'; display: block; clear: both; height: 0; visibility:hidden;} #img_list{ position: absolute; width: 960px;} #img_list li{ float: left; width: 320px; height: 120px; } #a{ background: #87ceeb;} #b{ background: #ff69b4;} #c{ background: #98fb98;} </style> </head> <body> <p id="view"> <ul id="img_list"> <li id="a"></li> <li id="b"></li> <li id="c"></li> </ul> </p> <script type="text/javascript"> var img_list = document.getElementById('img_list'); img_list.style.left = 0; setInterval(function(){ img_list.style.left = parseInt(img_list.style.left) == -640 ? 0: (parseInt(img_list.style.left) - 320 + 'px'); },500) </script> </body> </html>上面的demo突兀,感觉不好,于是可以加上平滑的移动效果。 所谓平滑的移动效果其实就是把上面第二个demo的每一大步分解为若干个小的部分,把一次移动320px分成50次来执行; demo_3:
代码如下:
<!DOCTYPE html PUBLIC "-//W3C//DTD XHTML 1.0 Transitional//EN" "http://www.w3.org/TR/xhtml1/DTD/xhtml1-transitional.dtd"> <html> <head> <meta http-equiv="Content-Type" content="text/html; charset=utf-8"/> <title></title> <style type="text/css"> *{ margin: 0; padding: 0;} ul{ list-style: none;} #view{ position: relative; width: 320px; height: 120px; margin-left:320px; border: 10px solid #bc8f8f; } #view:after{ content: '.'; display: block; clear: both; height: 0; visibility:hidden;} #img_list{ position: absolute; width: 960px;} #img_list li{ float: left; width: 320px; height: 120px; } #a{ background: #87ceeb;} #b{ background: #ff69b4;} #c{ background: #98fb98;} </style> </head> <body> <p id="view"> <ul id="img_list"> <li id="a"></li> <li id="b"></li> <li id="c"></li> </ul> </p> <script type="text/javascript"> var img_list = document.getElementById('img_list'); img_list.style.left = 0; setInterval(function(){ for(var i = 0 ; i < 100 ; i++){ (function(pos){ setTimeout(function(){ img_list.style.left = parseInt(img_list.style.left) == -640 ? 0: -pos/100 * 640+'px'; },(pos + 1)*10) })(i) } },1500) </script> </body> </html>对于demo_1的情况,我们可以不断缩减firstChild的宽度,以此达到类似demo_3的效果。 demo_4
代码如下:
<!DOCTYPE html PUBLIC "-//W3C//DTD XHTML 1.0 Transitional//EN" "http://www.w3.org/TR/xhtml1/DTD/xhtml1-transitional.dtd"> <html> <head> <meta http-equiv="Content-Type" content="text/html; charset=utf-8"/> <title></title> <style type="text/css"> *{ margin: 0; padding: 0;} ul{ list-style: none;} #view{ position: relative; width: 320px; height: 120px; margin-left:320px; border: 10px solid #bc8f8f; } #view:after{ content: '.'; display: block; clear: both; height: 0; visibility:hidden;} #img_list{ position: absolute; width: 960px;} #img_list li{ float: left; width: 320px; height: 120px; } #a{ background: #87ceeb;} #b{ background: #ff69b4;} #c{ background: #98fb98;} </style> </head> <body> <p id="view"> <ul id="img_list"> <li id="a"></li> <li id="b"></li> <li id="c"></li> </ul> </p> <script type="text/javascript"> var img_list = document.getElementById('img_list'); setInterval(function(){ var current = img_list.children[0]; for(var i = 0 ; i < 100 ; i++){ (function(pos){ setTimeout(function(){ current.style.width = 320 - (pos/100)*320 + 'px'; },(pos + 1)*10) })(i) } setTimeout(function(){ img_list.appendChild(current); current.style.width = '320px'; },1010); },1500) </script> </body> </html>上面几种,方式原理都差不多,另外还可以设置透明渐变,让一张图片透明度从1国度到0 ,于是也可以产生切换效果,代码改动也很小。 demo_5:
代码如下:
<!DOCTYPE html PUBLIC "-//W3C//DTD XHTML 1.0 Transitional//EN" "http://www.w3.org/TR/xhtml1/DTD/xhtml1-transitional.dtd"> <html> <head> <meta http-equiv="Content-Type" content="text/html; charset=utf-8"/> <title></title> <style type="text/css"> *{ margin: 0; padding: 0;} ul{ list-style: none;} #view{ position: relative; width: 320px; height: 120px; margin-left:320px; border: 10px solid #bc8f8f; } #view:after{ content: '.'; display: block; clear: both; height: 0; visibility:hidden;} #img_list{ position: absolute; width: 960px;} #img_list li{position: absolute; top:0; left: 0; width: 320px; height: 120px; } #a{ background: #87ceeb;} #b{ background: #ff69b4;} #c{ background: #98fb98;} </style> </head> <body> <p id="view"> <ul id="img_list"> <li id="a"></li> <li id="b"></li> <li id="c"></li> </ul> </p> <script type="text/javascript"> var img_list = document.getElementById('img_list'); setInterval(function(){ var current = img_list.children[0]; for(var i = 0 ; i < 100 ; i++){ (function(pos){ setTimeout(function(){ current.style.opacity = 1 - (pos/100)*1; },(pos + 1)*10) })(i) } setTimeout(function(){ img_list.appendChild(current); current.style.opacity = 1; },1010); },1500) </script> </body> </html>至于其他各种绚丽的效果,经过一些其他的组合处理就可以了。 一种处理方法就是把图片分割成n个区域,将背景都设置为需要显示的图片,然后在不同的区域显示对应的背景。这样一来,一张100*100的图片,可以被分割成100个10*10的小方块,再对这些方块来进行处理,得到的效果就会更多。理论上还可以分成10000个1*1的小点,但是浏览器会爆掉·· demo_6:
代码如下:
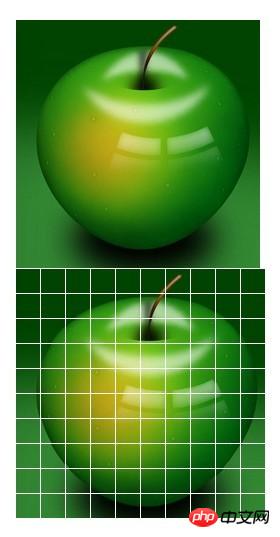
<!DOCTYPE html PUBLIC "-//W3C//DTD XHTML 1.0 Transitional//EN" "http://www.w3.org/TR/xhtml1/DTD/xhtml1-transitional.dtd"> <html> <head> <meta http-equiv="Content-Type" content="text/html; charset=utf-8"/> <title></title> <style type="text/css"> *{ margin: 0; padding: 0; border: 0;} body{ padding: 50px;} .sep{ float: left; margin:1px 1px 0 0;} </style> </head> <body> <img id="img" src="../动画/apple.jpg" alt="" /> <p id="wrap" style="position: relative; "></p> <script type="text/javascript"> var img = document.getElementById('img'); var wrap = document.getElementById('wrap'); img.onload = function(){ console.dir(img); var h = img.naturalHeight; var w = img.naturalWidth; newPanel(w,h); } function newPanel(w,h){ var cols = 10; var rows = 10; var colWidth = Math.floor(w/cols); var rowHeight = Math.floor(w/rows); for(var row = 0; row < rows; row++){ for(var col =0; col < cols; col++){ var p = document.createElement('p'); p.style.width = colWidth + 'px'; p.style.height= rowHeight + 'px'; p.className= 'sep'; p.style.backgroundImage = 'url(' + img.src + ')'; p.style.backgroundPosition = -colWidth*col +'px ' + -rowHeight*row +'px' ; wrap.appendChild(p); } } } setTimeout(function(){ setInterval(function(){ wrap.lastChild && wrap.removeChild(wrap.lastChild); },50) },1000) </script> </body> </html>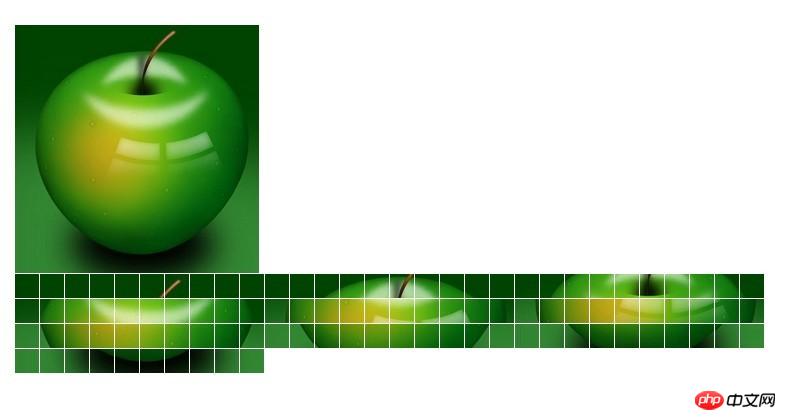

演示而已,具体的宽度和排列需要自己再组织下。或者消除,或者遮罩,对应不同的排列组合,其他的方式也比较好实现。 最后,大家都懂的,CSS3也可以实现一些幻灯片效果, demo_7:
代码如下:
<!DOCTYPE HTML PUBLIC "-//W3C//DTD HTML 4.01 Transitional//EN" "http://www.w3.org/TR/html4/loose.dtd"> <html> <head> <meta http-equiv="Content-Type" content="text/html; charset=utf-8"/> <title></title> <style type="text/css"> *{ margin: 0; padding: 0; } #test{ position: relative; width: 300px; height: 200px; overflow: hidden; border: 1px solid #d4d4d4; } #test ul{ position: absolute; top:0; left: 0; height:200px; } #test ul li{ float: left; width: 300px; height:200px; } @-webkit-keyframes myAnimation{ 0%{ top:0; } 40%{ top:-200px; } 70%{ top:-400px; } 100%{ top:-600px; } } #test ul{ -webkit-animation-name:myAnimation; -webkit-animation-duration:4s; -webkit-animation-timing-function:linear; -webkit-animation-iteration-count:infinite; } </style> </head> <body> <p id="test"> <ul> <li><img width="300" height="200" src="../image/a.jpg" alt="" /></li> <li><img width="300" height="200" src="../image/a.jpg" alt="" /></li> <li><img width="300" height="200" src="../image/a.jpg" alt="" /></li> <li><img width="300" height="200" src="../image/a.jpg" alt="" /></li> </ul> </p> </body> </html>
总结:
本文使用了很多的实例来讲解了JavaScript实现幻灯片的操作,相信小伙伴么通过对本文的学习,对幻灯片的实现以有了一定的了解!
相关推荐:
php+javascript幻灯片生成代码
javascript实现图片切换的幻灯片效果源代码
JS实现淘宝幻灯片效果的实现方法
以上就是JavaScript实现幻灯片的简单实例的详细内容,更多请关注php中文网其它相关文章!
来源:php中文网